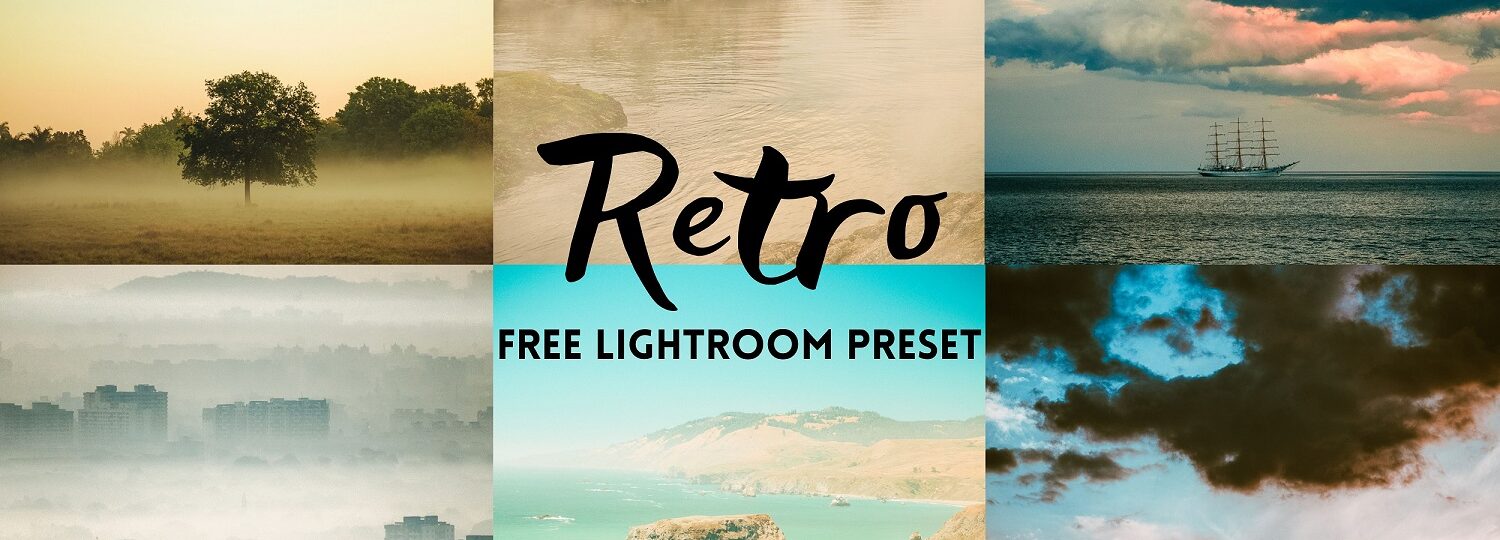
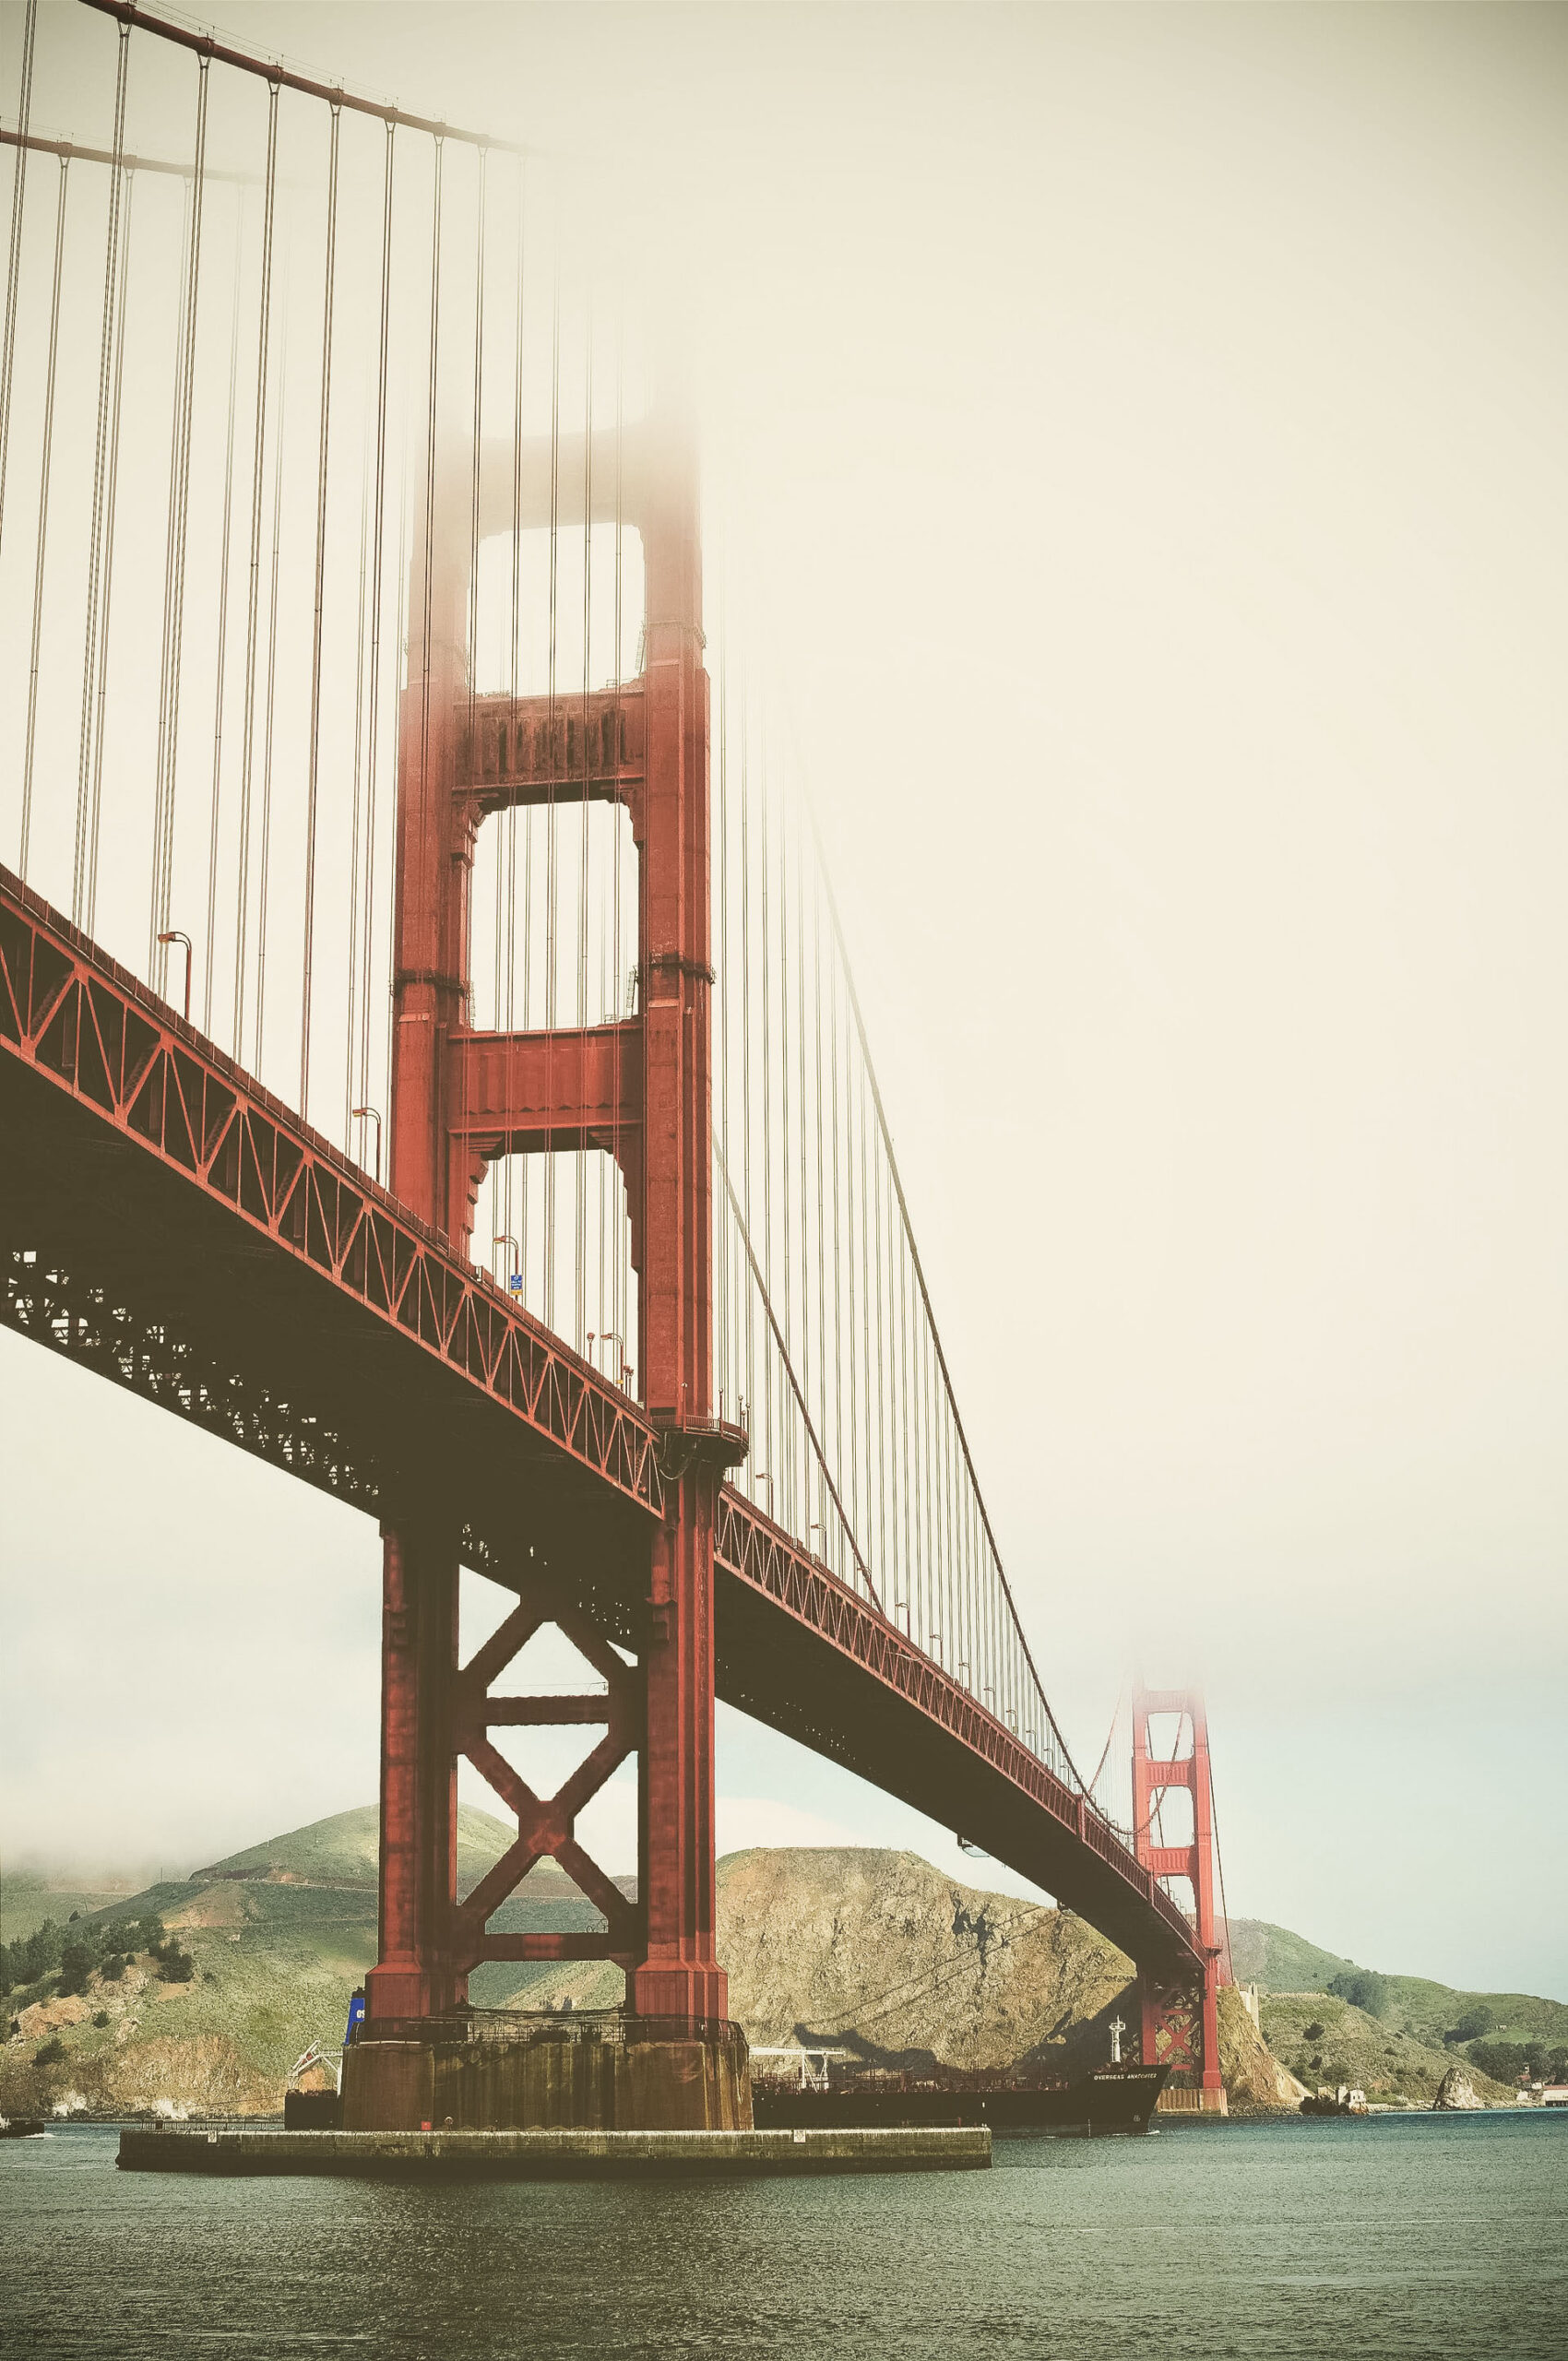
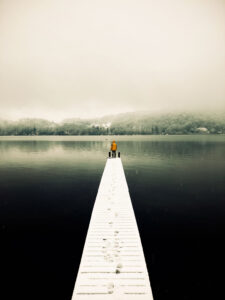
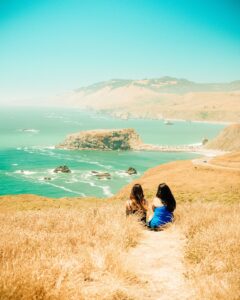
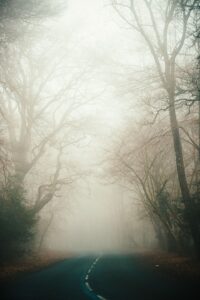
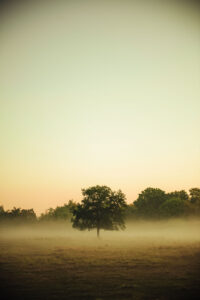
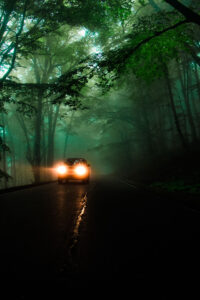
This free Preset Retro Free Lightroom Preset is a very beautiful Filter for Different type of Landscape pictures that have Mist and Fog in them it will work very beautifully on your pictures, and it is free to download and Use, Subscribe to my youtube and Follow me on Facebook and Instagram so you can get notifications about newly released presets.
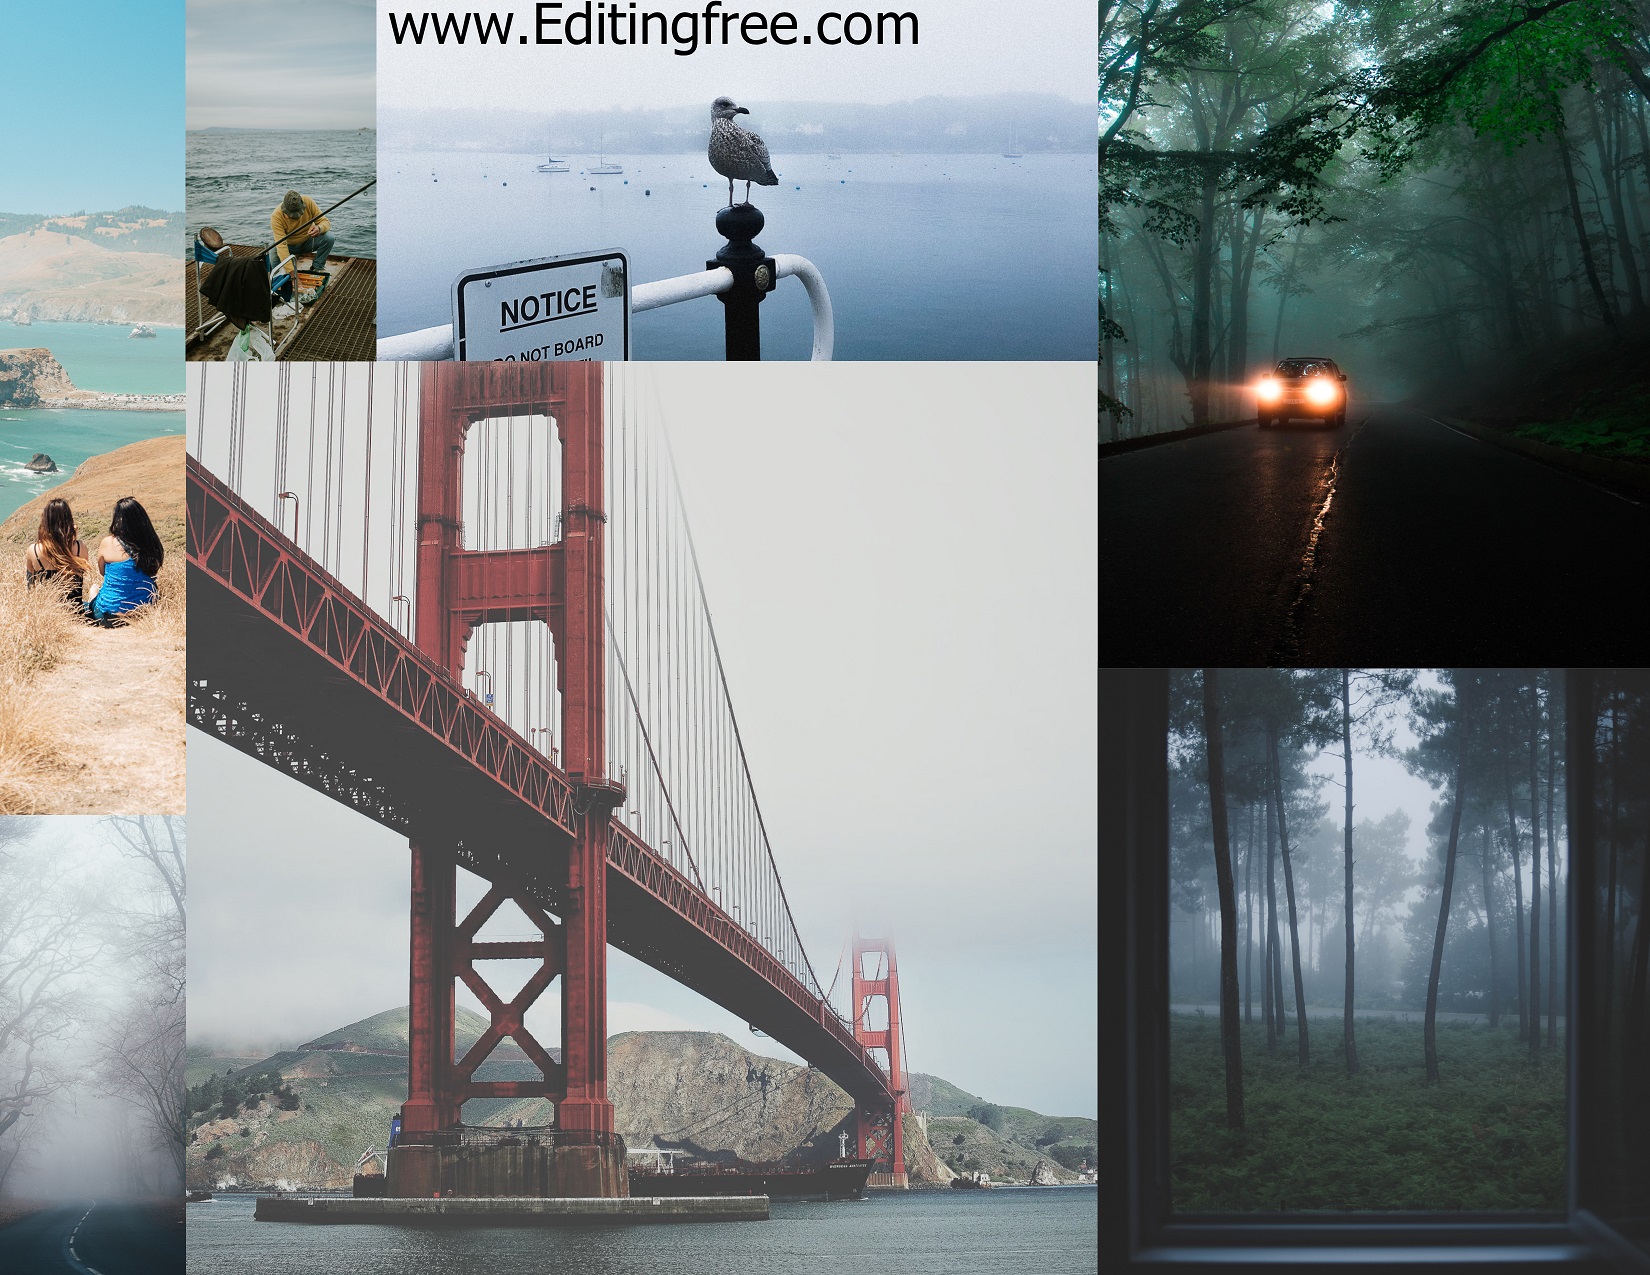
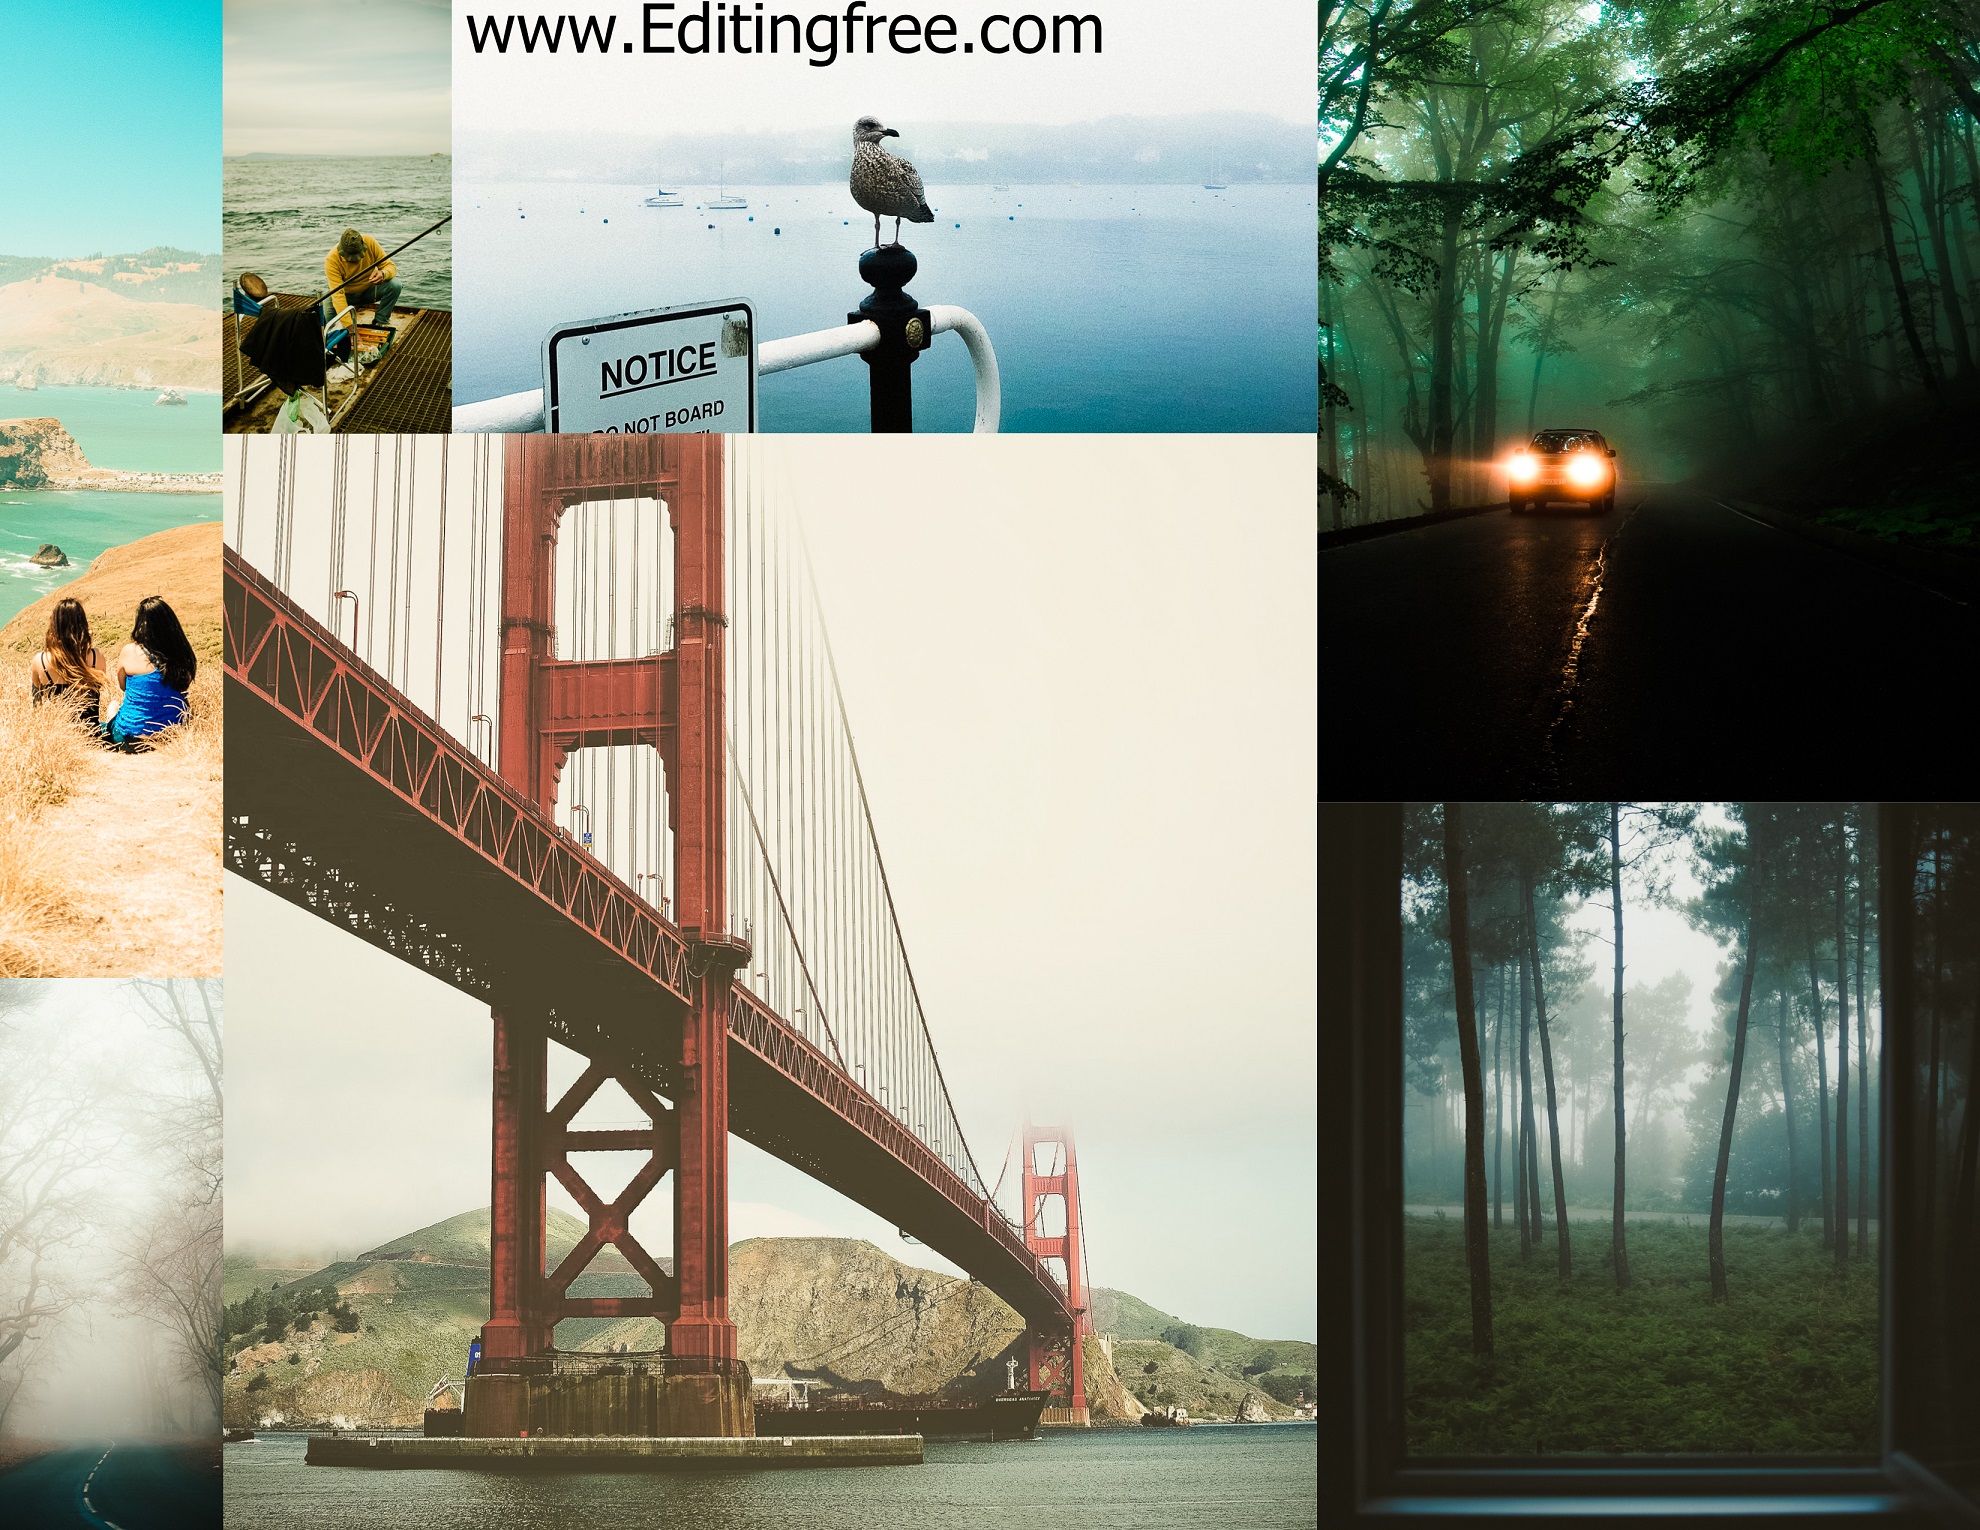
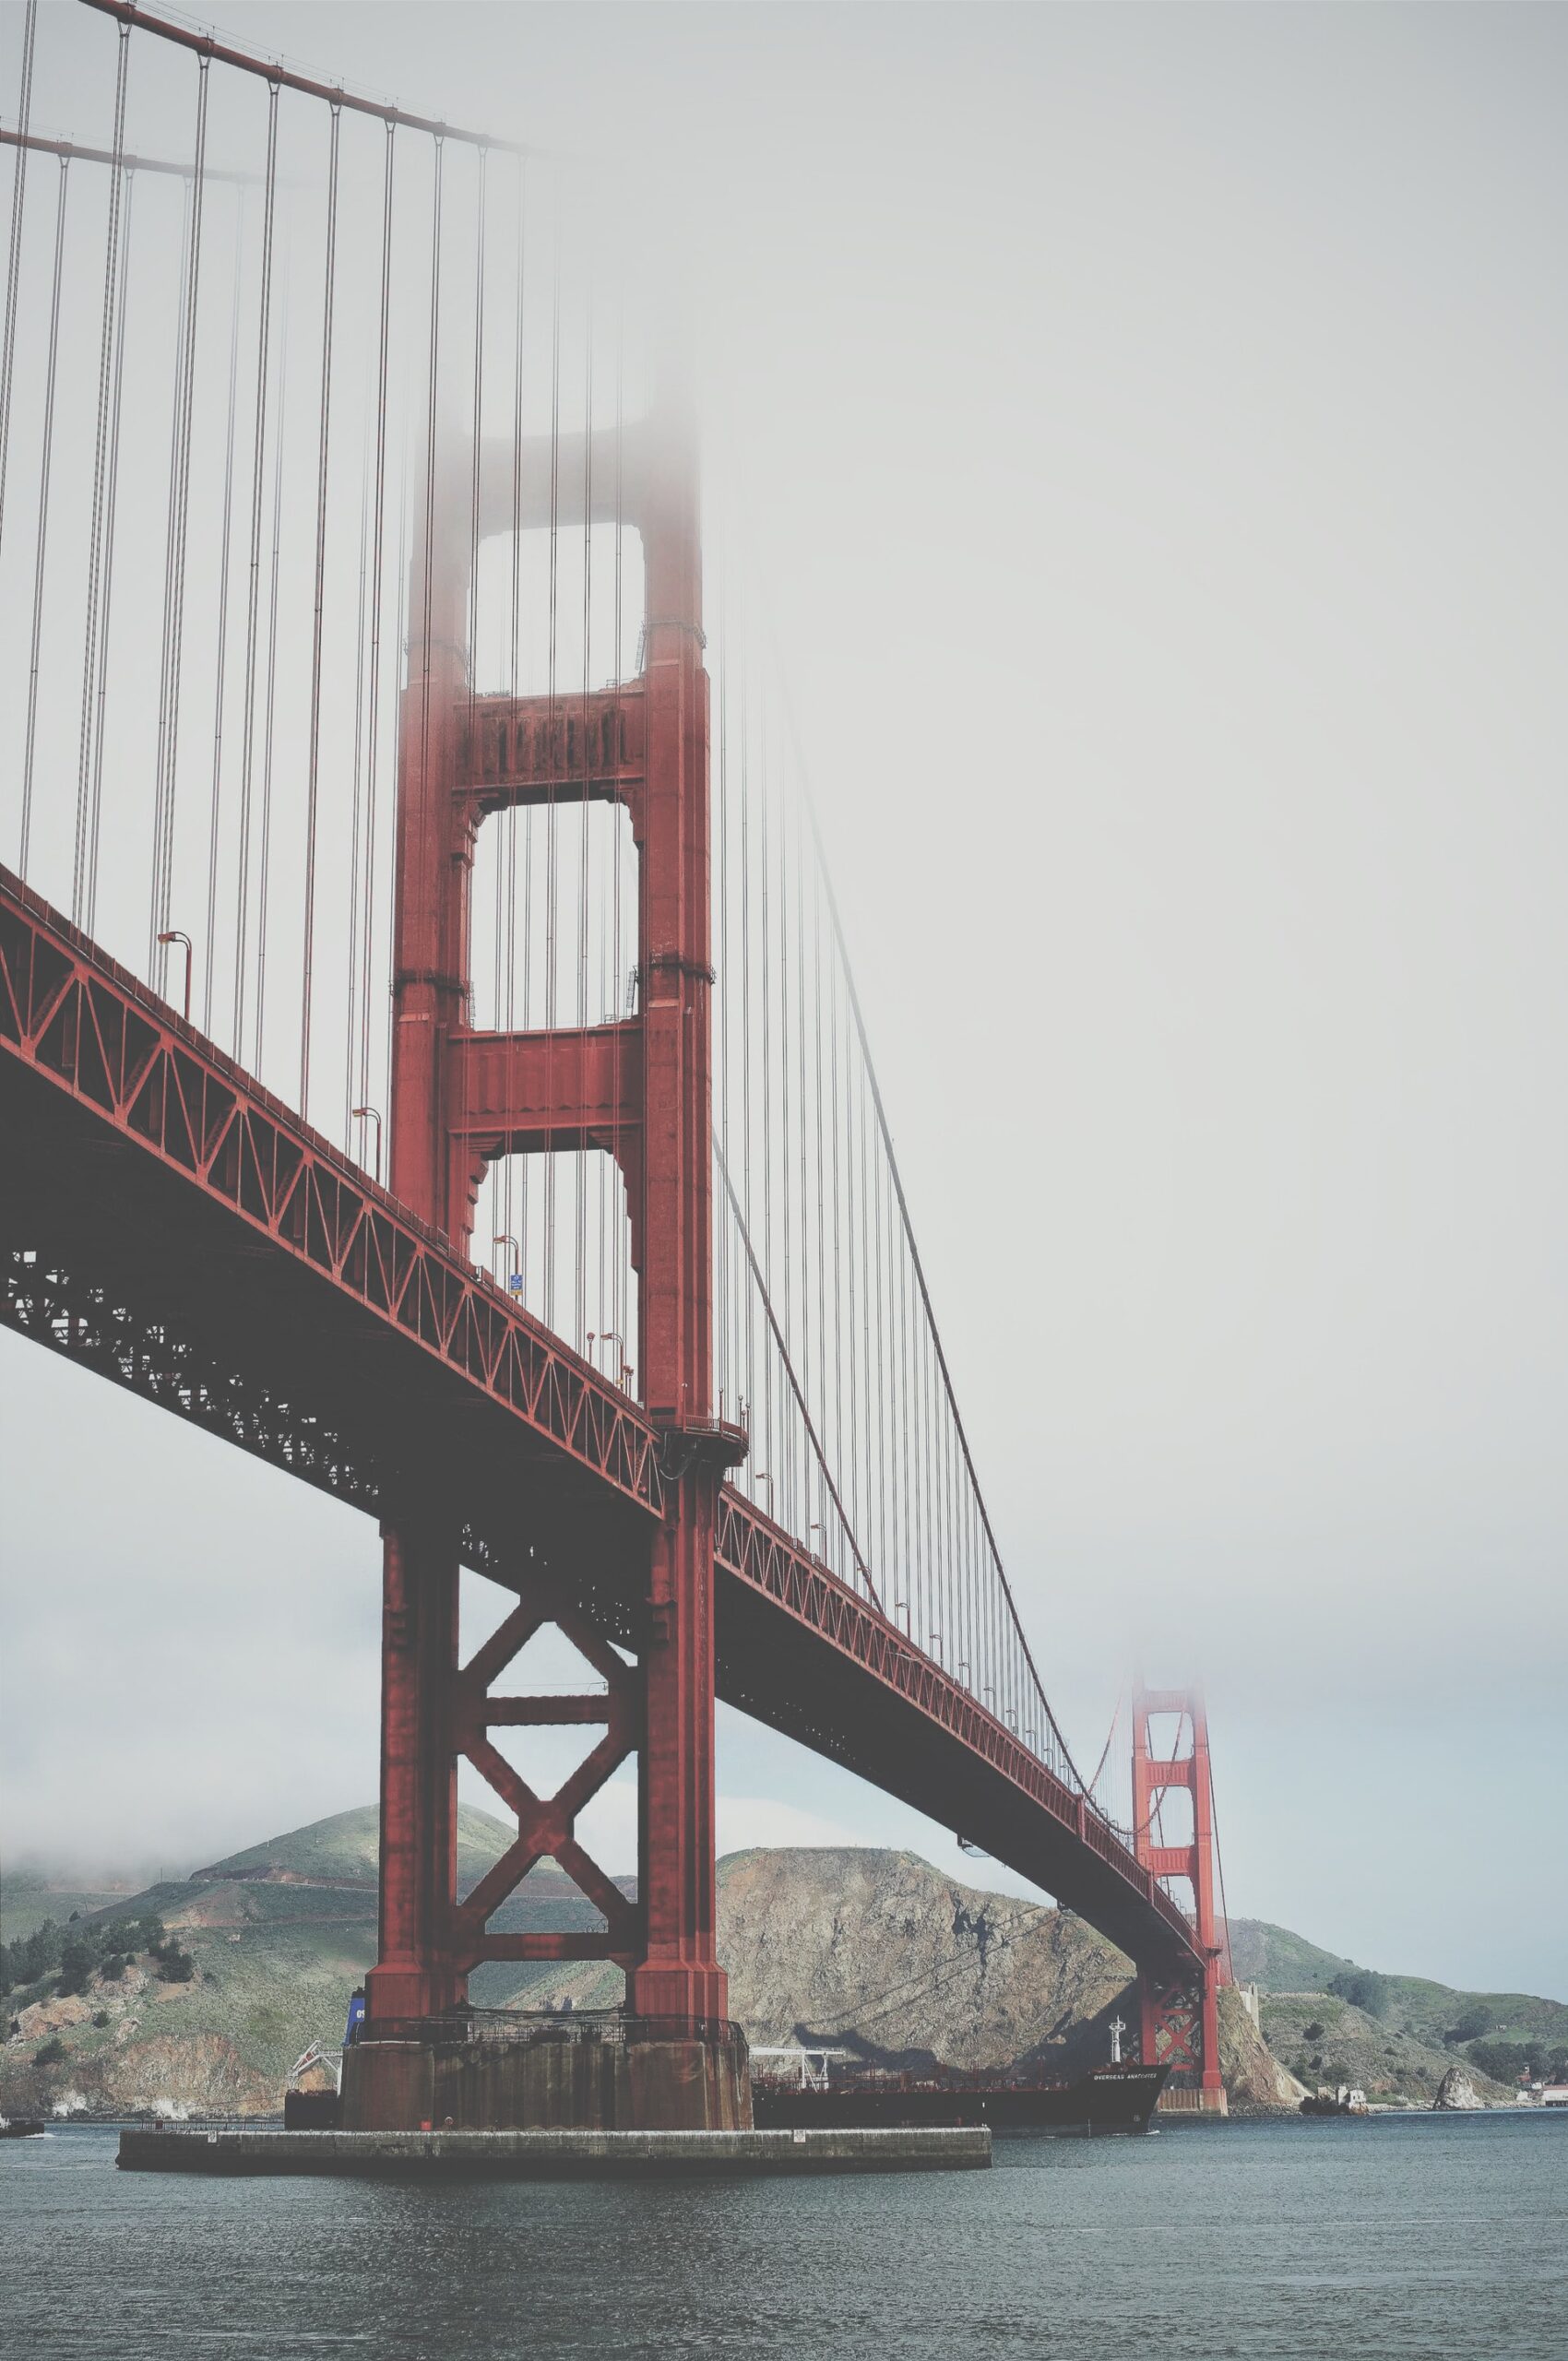
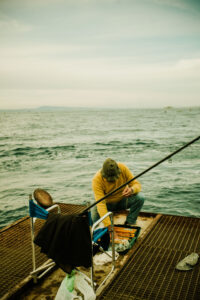
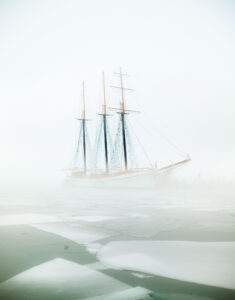
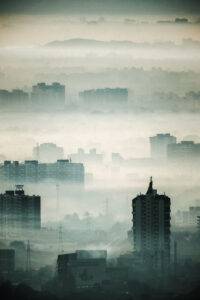
All the pictures in this post are After I applied this Free Lightroom Preset 100% www.Editingfree.com free preset on it.
this preset Retro is free to download in DNG and XMP Format. it is a world-class preset and I am giving it free of cost.
All my presets are free to download as much as you can.
Question: What is Lightroom Preset?
Answer: Preset is a picture editing formula or Settings that has been created to use for Another time Just with one click. and it is used to enhance/create a Steady and Beautiful Instagram feed theme quickly.
Sometimes you might find out that something doesn’t look right in your pic when you apply the Free preset, whether that’s colors brightness or sharpness.
Every photo setting is different, when you take different pics the scenario in every pic is different so you might need to adjust the preset to your liking because of the Night, day, Light, Dark Effect result of the Preset on every picture is different. you will find lightroom mobile presets free here and you can download XMP files to use in Pc also.
This Preset is 100% Free to use Anywhere. I know how difficult all the settings in Lightroom can be for Newbies, so here are my best tips:
1. This preset made my photo too bright. How to Adjust it?
Apply the following settings in your Mobile Lightroom App:
Light > Exposure > Decrease
Light > Shadows > Decrease
2. The preset made my photo too dark. How to Adjust it?
Apply the following settings in your Mobile Lightroom App:
Light > Exposure > Increase
Light > Shadows > Increase
3. The preset made my photo too warm/cold. How to adjust it?
Apply the following settings in your Mobile Lightroom App:
Color > Temp > Increase/Decrease (Tip: More Yellow for warmer tones, More Blue for colder tones)
4. The preset made my skin tone too orange. How to adjust it?
Apply the following settings in your Mobile Lightroom App:
Color > Mix > Orange > Saturation > Decrease
Color > Mix > Orange > Luminance > Increase
5. The preset made my skin tone too Red How to adjust it?
Apply the following settings in your Mobile Lightroom App:
Color > Mix > Red > Saturation > Decrease
Color > Mix > Red > Luminance > Increase
6. The preset made the greens in my photo too faded and did not look good. How do I adjust it?
Apply the following settings in your Mobile Lightroom App:
Color > Mix > Green > Saturation > Increase
Color > Mix > Green > Luminance > Increase/Decrease
How to Install:
1.Download the DNG file from my Post.
2. And then open your LR App and Import the DNG file into your Lightroom mobile app as you Import any image.
3. Open the DNG image, tap on the 3 dots icon on the upper right corner and choose Copy and then open your own picture and Paste to your photo, or choose to Create Preset (this option is also present there), to save the presets in your Presets lightroom Gallery.(D)
 this preset Retro is free to download in DNG and XMP Format. it is a world-class preset and I am giving it free of cost.
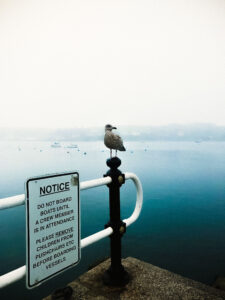
 Every photo setting is different, when you take different pics the scenario in every pic is different so you might need to adjust the preset to your liking because of the Night, day, Light, Dark Effect result of the Preset on every picture is different. you will find lightroom mobile presets free here and you can download XMP files to use in Pc also.
 This Preset is 100% Free to use Anywhere. I know how difficult all the settings in Lightroom can be for Newbies, so here are my best tips:
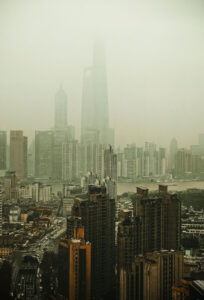
 2. The preset made my photo too dark. How to Adjust it?
Apply the following settings in your Mobile Lightroom App:
2. The preset made my photo too dark. How to Adjust it?
Apply the following settings in your Mobile Lightroom App:
 3. The preset made my photo too warm/cold. How to adjust it?
Apply the following settings in your Mobile Lightroom App:
3. The preset made my photo too warm/cold. How to adjust it?
Apply the following settings in your Mobile Lightroom App:
 4. The preset made my skin tone too orange. How to adjust it?
Apply the following settings in your Mobile Lightroom App:
4. The preset made my skin tone too orange. How to adjust it?
Apply the following settings in your Mobile Lightroom App:
 5. The preset made my skin tone too Red How to adjust it?
Apply the following settings in your Mobile Lightroom App:
5. The preset made my skin tone too Red How to adjust it?
Apply the following settings in your Mobile Lightroom App:
 6. The preset made the greens in my photo too faded and did not look good. How do I adjust it?
Apply the following settings in your Mobile Lightroom App:
6. The preset made the greens in my photo too faded and did not look good. How do I adjust it?
Apply the following settings in your Mobile Lightroom App:

